PanelDue 5i/7i Touchscreen Glass ONLY

$17.99

Type

In stock, ready to ship.


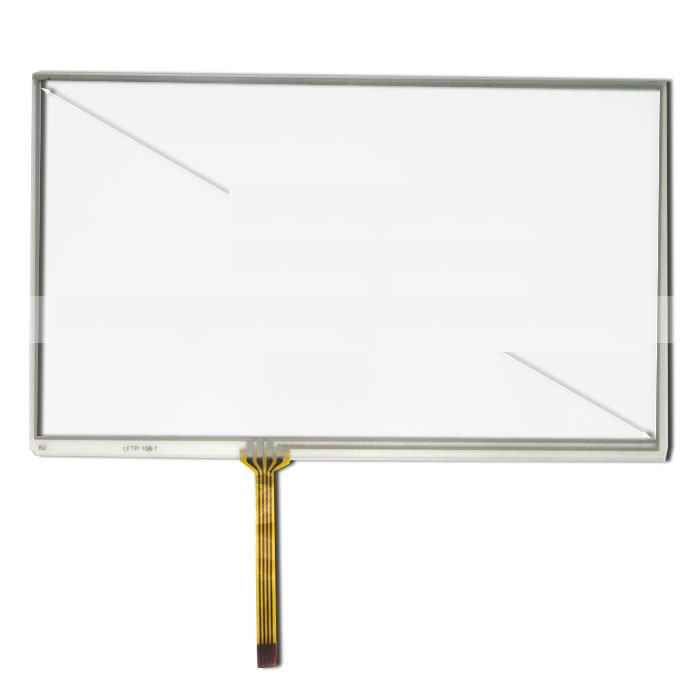
Touchscreen glass replacements for PanelDue 5i or 7i, in case you have broken your touchscreens. Comes with adhesive - simply use a sharp knife to remove the old touchscreen, then install this new one.

Not compatible with screens other than the PanelDue 5i or 7i.


My replacement touch panel came in today, and I have performed the swap.

For other people wanting to perform the same fix, here is how I did it and recommendations:

  • First step is to desolder the touch panel from the display ribbon cable. If you have a hot-air station, this is easy (all 4 contacts need to be desoldered at the same time). Since I don't have such a station, and my touch panel is broken, I simply cut the touch panel's ribbon off, to get desolder under the ribbon.
  • Next, we need to remove the broken touch panel. I used a small exacto knife to do this. You want to slide it in carefully, between the metal frame of the TFT LCD panel and the glass of the touch panel. The touch panel is held only one the sides, so you don't have to insert the knife further than the TFT's metal frame. Also be careful for the film on the TFT panel, that supports the touch panel from below. You do not want to stress the touch panel glass - it is thin and very fragile, when breaking, it creates a bunch of glass dust. If it breaks remove it carefully - do not scratch the TFT panel.
  • Now we can clean the TFT panel from the adhesive residue. I used a bit of rubbing alcohol, but that turned out to not be a very good idea. It seems some of the alcohol got in behind or on the backlight (now mine have different whites in the bacground - hopefully it can evaporate and restore it to a single white). Also a good idea to wipe any dust before we continue - you do not want any dust below the touch panel.
  • The new touch panel can now be prepared. The panel comes with a protective cover on the front - this can be left in to help protect the touch panel. The panel also comes with a back protective cover, with a tab to peel it off - this can now be carefully removed. The adhesive is only on the edges, so do not touch the center.
  • Align the touch panel over the TFT panel, with the ribbon going out the right way, then lay it flat on the TFT panel. When it is on, press the touch panel on the edges for the adhesive to take.
  • Finally you can solder the touch panel's ribbon back on. I used a piece of tape to keep it in place while I solder it.

With everything back in place, power the display with USB, and test out the touch. If it works, run the touch calibration.


You may find the following notes from users helpful:

On mine (an 5i), I have figured out that to replace the touch panel, the following instructions should work (since the touch panel is identical to what is already on your display):

  1. Wait until the replacement panel arrived, before removing the original panel, and do so in a slightly humid area with the least amount of dust possible - slightly humid (though not too humid - electronics does not like too high humidity) may reduce dust. We do not want dust between the touch panel and the display.
  2. desolder the original touch panel's 4 wires, and peel the touch panel off, starting in a corner. The Touch panel is the whole part above the metal casing from the screen (it includes a glass panel).
  3. the new touch panel comes with adhesive that will stick it to the display, carefully peel the tape from the adhesive side of the new touch panel; position the touch panel and let it stick in the right location (starting in a corner, like you would install a screen protector).
  4. solder the new 4 wires to their location, ensuring a good solder joint.
  5. power the display, possible using USB to make it easy, and run the calibration - this should ensure that the correct positions are detected as the limits.
  6. the display should now be functioning.

Next Previous